Wednesday, 20 November 2024
Lean-To Shed Build: A Practical Guide for Backyard Storage

Lean-To Shed Build: A Practical Guide for Backyard Storage
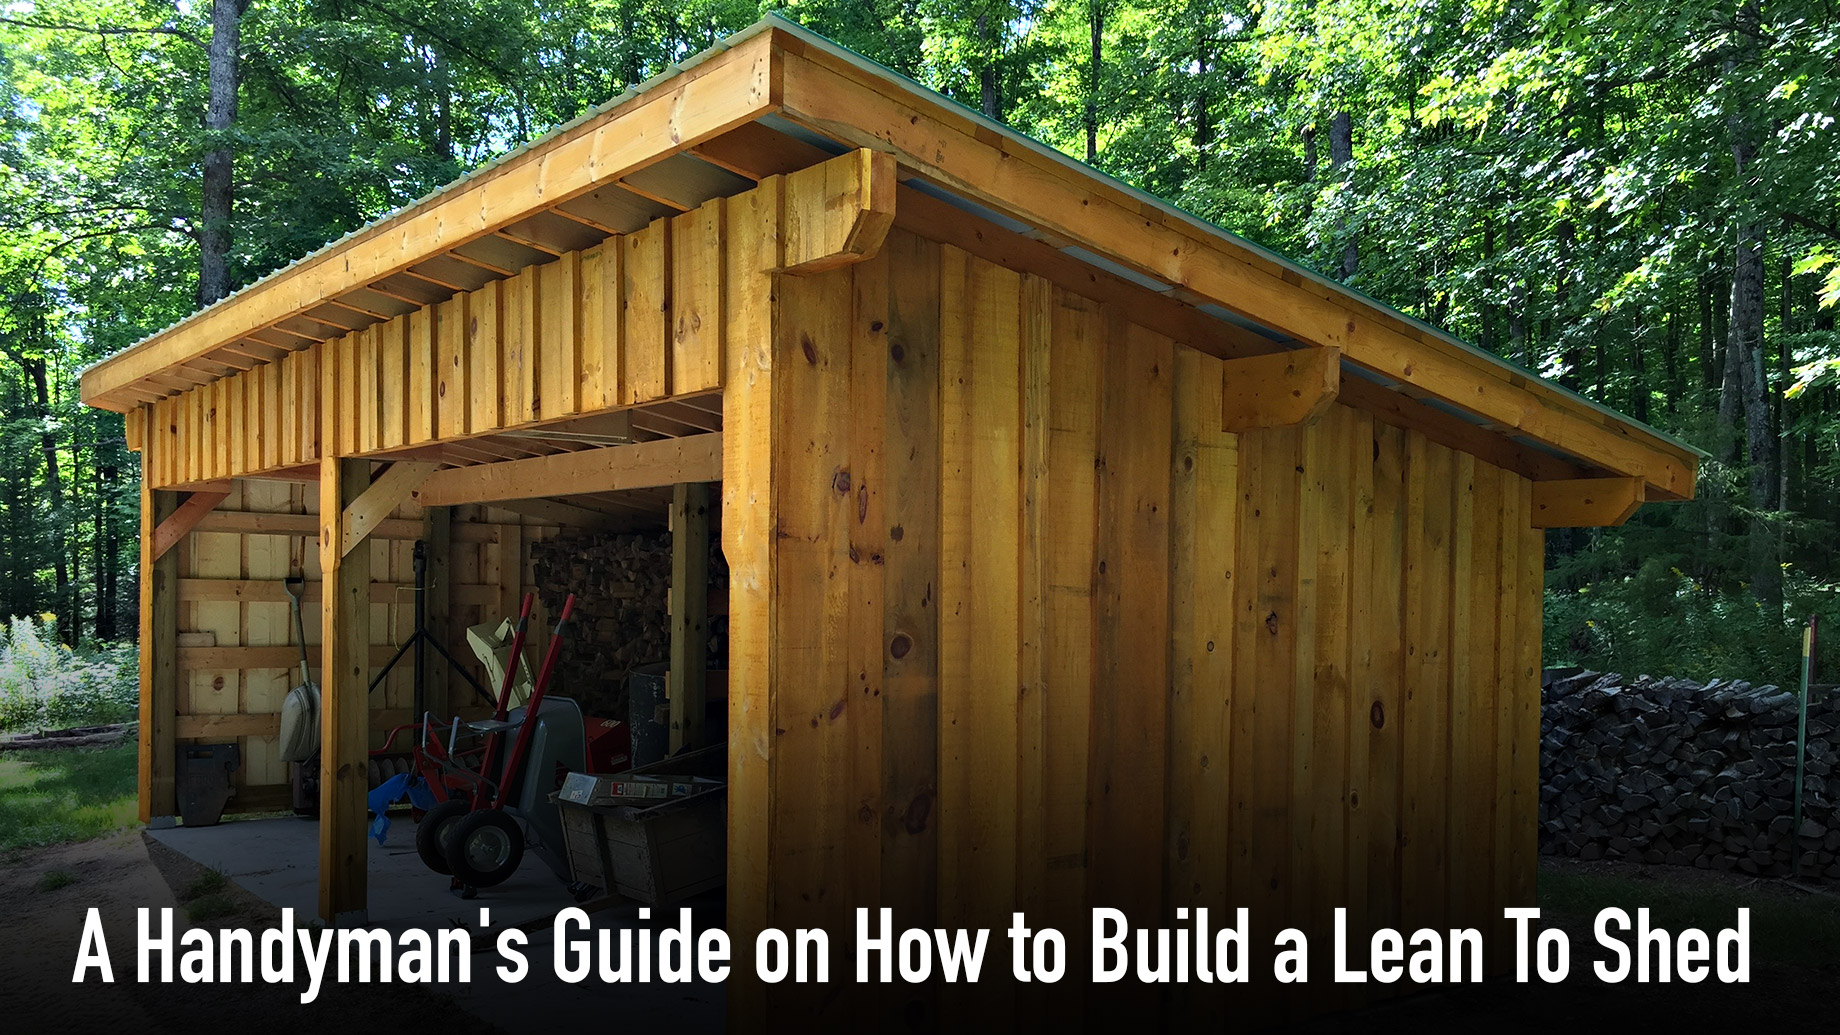
The construction of a lean-to shed presents a compelling solution for homeowners seeking additional backyard storage without the significant undertaking of a freestanding structure. This guide provides a comprehensive overview of the lean-to shed building process, from initial planning and design considerations to the final stages of construction and finishing. Careful adherence to these steps will ensure a structurally sound and aesthetically pleasing addition to your property.
Phase 1: Planning and Design
Before commencing any construction, thorough planning is paramount. This phase involves crucial decisions that dictate the overall success and longevity of your lean-to shed.
Site Selection and Assessment
The chosen location should be level, easily accessible, and provide adequate space for construction and future usage. Consider proximity to existing structures, utilities (electrical, water), and drainage patterns. A thorough site assessment should include evaluating the soil conditions to determine the suitability for foundation construction. Soft or unstable soil may require additional groundwork, such as the installation of compacted gravel base.
Design Considerations: Size and Materials
The dimensions of your lean-to shed will be heavily influenced by your storage needs and the available space against the supporting structure (house, fence, or existing outbuilding). Accurate measurements are crucial to avoid material wastage and structural inconsistencies. Common lean-to shed sizes range from 6ft x 8ft to 10ft x 12ft, but larger structures are achievable depending on the supporting wall's strength and local building codes.
Material selection significantly impacts cost, durability, and aesthetics. Pressure-treated lumber is a popular choice for its resistance to rot and decay, providing a long lifespan even in damp climates. Other options include cedar or redwood for a more aesthetically pleasing (but often more costly) finish. Consider the roofing material as well: Asphalt shingles are economical and readily available, while metal roofing offers superior durability and longevity.
Permits and Regulations
Before initiating construction, it is essential to check with your local authorities regarding building permits and regulations. These requirements vary depending on location and the size of the structure. Failure to obtain necessary permits can result in fines or even demolition orders. Understanding zoning restrictions, setback requirements, and height limitations is crucial to ensure compliance.
Phase 2: Foundation and Framing
A stable foundation is the cornerstone of any successful building project. The specific foundation type will depend on the soil conditions and the size of the lean-to shed.
Foundation Construction
For smaller lean-to sheds on stable ground, a simple concrete slab foundation may suffice. Larger structures or those on less stable ground may require a more robust foundation, such as concrete piers or a gravel base. Ensure the foundation is perfectly level to prevent structural problems down the line. Accurate leveling is crucial for ensuring the shed's stability and preventing water accumulation.
Framing the Structure
The framing process begins with constructing the base frame, typically using pressure-treated lumber. The base frame should be securely attached to the supporting wall using appropriate fasteners, ensuring a strong and stable connection. Vertical wall studs are then erected and secured to the base frame, ensuring plumbness and squareness. Proper bracing is essential to maintain structural integrity during construction and prevent warping or sagging.
Roof rafters are then installed, ensuring proper spacing and slope for adequate water runoff. The roof's pitch should be sufficient to prevent water accumulation, typically a minimum of 4:12 (4 inches of rise for every 12 inches of run). The rafters should be securely attached to the wall studs and ridge board.
Phase 3: Roofing, Siding, and Finishing
Once the framing is complete, the focus shifts to the exterior finishes and the addition of any interior features.
Roofing Installation
Roofing installation involves laying underlayment (felt paper) over the rafters to provide a water barrier before applying the chosen roofing material. Follow the manufacturer's instructions for proper installation of asphalt shingles or metal roofing panels, ensuring overlapping for complete water protection. Proper flashing around chimneys, vents, and other penetrations is crucial to prevent leaks.
Siding and Trim
Siding provides both aesthetic appeal and protection from the elements. Common siding options include vinyl, wood, and metal. The chosen siding should be installed according to the manufacturer's instructions, ensuring proper overlapping and sealing to prevent water infiltration. Adding trim around windows, doors, and edges enhances the structure's appearance and protects the underlying structure.
Interior Finishing
The final stage involves the addition of interior features such as shelving, flooring, and lighting, tailored to the intended use of the lean-to shed. Consider adding shelving units for efficient storage, and a suitable floor covering to protect against moisture and damage. Adequate lighting is essential for safe and convenient use, especially during evening hours. If electrical work is involved, ensure that it is carried out by a qualified electrician.
Phase 4: Safety and Maintenance
Throughout the entire building process, safety should be paramount. Always wear appropriate personal protective equipment (PPE), including safety glasses, gloves, and hearing protection. Use caution when working with power tools and follow manufacturer's instructions. Regular inspections and maintenance are essential for the long-term durability of your lean-to shed. This includes checking for loose fasteners, damaged siding, and potential water leaks. Address any issues promptly to prevent more extensive damage and ensure the longevity of your structure.
In conclusion, constructing a lean-to shed is a rewarding project that provides valuable additional storage space. By carefully following this guide and adhering to safety guidelines, you can create a functional and aesthetically pleasing addition to your property.
No comments:
Post a Comment